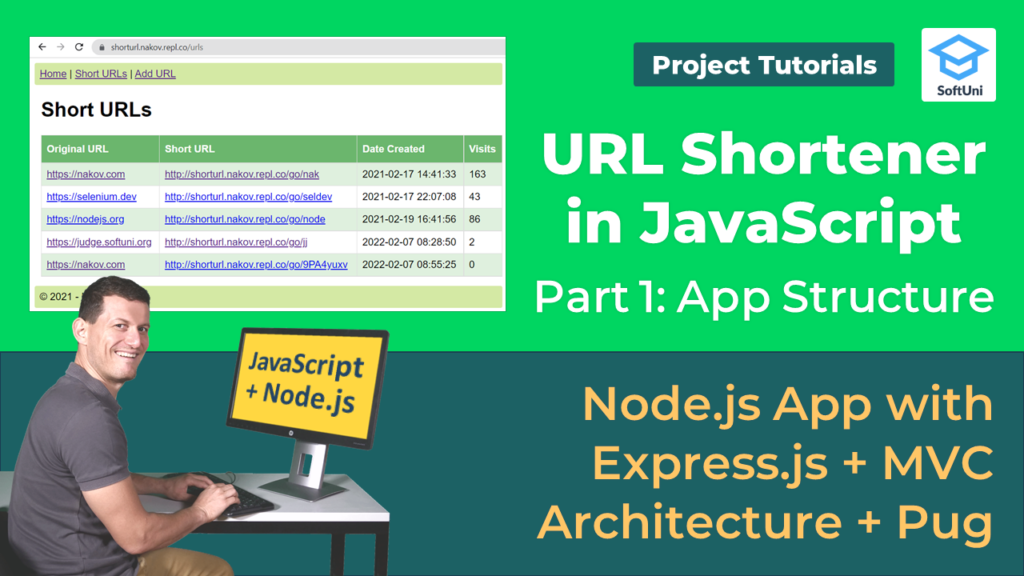
In this tutorial, we will create our URL Shortener using JavaScript. We will be using Expres.JS for creating the server-side web application and Pug as a template engine. This tutorial will be split into several parts, and in each part, we will further develop our project. In the end, we will have a fully working Multi Page Application (MPA).
After we initialize our project, we need to split our code logic into different folders. We create folders for:
- data
- controllers
- views
- public
In our main directory we have an index.js file that is automatically generated by repl.it. You don’t need to install manually any libraries because they will be added automatically when you start the project.
First, in our index.js we need to add the following code:
index.js
					const express = require('express');
const app = express();
app.use(express.static('public'))
app.set('view engine', 'pug');

const data = require("./data/app-data");
data.seedSampleData();

const mvcController = require(
  "./controllers/mvc-controller");
mvcController.setup(app, data);

let port = process.argv[2];
if (!port) port = process.env['PORT'];
if (!port) port = 8080;

app.listen(port, () => {
  console.log(`App started. Listening at http://localhost:${port}`);
})
.on('error', function(err) {
  if (err.errno === 'EADDRINUSE')
    console.error(`Port ${port} busy.`);
  else
    throw err;
});
- In the first row, we import the ExpressJS node module. Then we bind it to a constant and use it to make static our public folder. Doing this will allow us to use the public folder from any part of our application.
- We will also set our view engine to pug. This will render all .pug files we set as views.
- We define constant named data and invoke the function. seedSampleData() inside it. We will create them later. Every time our project is started this function will be initialized.
- Our next task is to tell the index.js that our MVC-controller exists and set up it.
- We set our virtual port for repl.it to 8080, and tell the program to listen to this port.
- If there is an error, it will be automatically displayed on the server’s console.
app-data.js
					let urls = [];

function seedSampleData() {
  urls.length = 0; // cleanup
  urls.push({
    url: "https://softuni.org",
    shortCode: "su",
    dateCreated: new Date("2022-02-19T16:41:56"),
    visits: 86
  });
  urls.push({
    url: "https://nakov.com",
    shortCode: "nak",
    dateCreated: new Date("2022-02-17T14:41:33"),
    visits: 160
  });
}

module.exports = {
  urls,
  seedSampleData
};
- In our data folder we create an app-data.js file. In it is we create our seed of data. We add an empty array that we fill with the seedSampleData() function.
- In our function we have 2 different objects {} that we push into the urls array.
- This is a temporary solution and in our next parts will be changed with a real database.
mvc-controller.js
					function setup(app, data) {
  app.get('/', function(req, res) {
    let visitors = 0;
    for (const url of data.urls) {
      console.log(url);
      visitors += url.visits;
    }
    let model = { urls: data.urls, visitors };
    res.render('home', model);
  });
}

module.exports = { setup };
- Inside our controller folder we create the mvc-controller.js file. Inside it, we add the function setup() that receives the app and data.
- When our server recieves a GET request with a URL that equals ‘/’, it will invoke the following function.
- We iterate over the collection of data and bind it into the model variable.
- Then, we render the following view with the data attached to it.
- After we are done, we export the function so that the index.js can run it correctly.
home.pug
					h1 URL Shortener
ul
  li Short URLs: <b>#{urls.length}</b>
  li URL visitors: <b>#{visitors}</b>
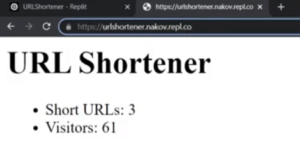
- Finally, we create our home.pug view inside the views folder. That is the html page that will load when the user goes to the ‘/’ URL, that we defined in our controller.
- We have an unordered list( ul ), in which we have two rows( li ). The first is for the count of our URLs, and the next is the total sum of all visitors summed from all 2 records.
- If we want to print the data bound to the variable visitors, we must add hashtag # and braces { } around it so that our compiler knows that this isn’t a regular HTML text.
 After completing all the steps you will have a simple working Multi Page Application. If you start your project, you will see that everything that we have done is working correctly. We are using the MVC architecture, and we have split the project into different folders and functions for better understanding. This way you can clearly see where each part is located. Keep up with our parts and see how our project grows more.
Lesson Topics
- URL Shortener: App Walkthrough
- Project Structure
- Creating the App Structure
Remember that coding is a skill, which should be practiced. To learn to code, you should write code every day for a long time. Watching tutorials is not enough. You should code!
We would love to hear from you, so leave a comment below saying what topics you would like to see next.
Register now and take your free resources right away! Become a member of the SoftUni Global Community and communicate with other students and mentors and get help for FREE.
After registering, you will get access to thе project code.